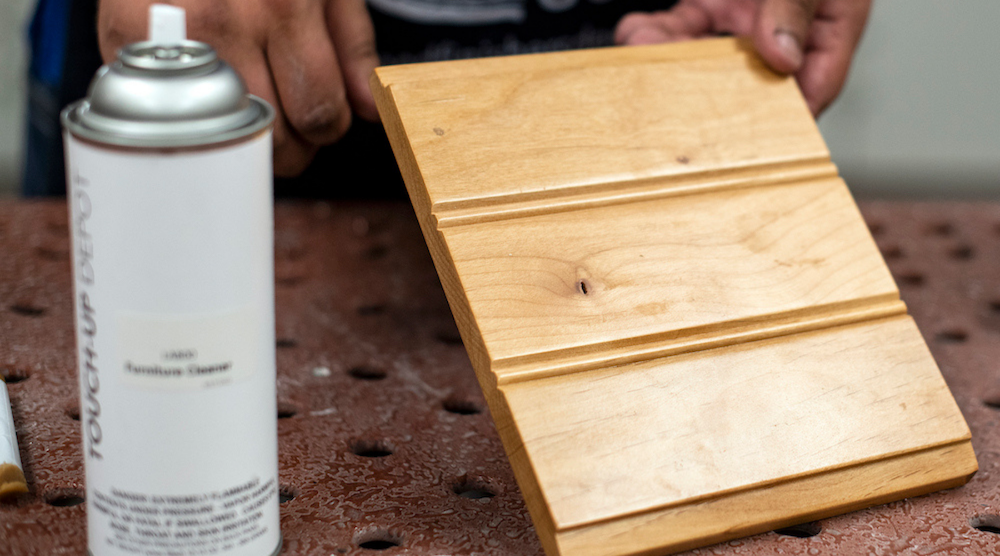
The primary function of staining is to provide color to a wood piece. If you sand in between coats of stain, you risk breaking the color and damaging the stain. Instead, you should sand the raw wood before applying a stain.
Take a look at our recommended best practices for sanding to ensure that your wood piece is ready for staining. By following these guidelines, finishing professionals will be ready to balance their sanding and staining needs to execute each project.
When Should You Use Sanding?
Sanding is important to prepare wood surfaces for your application. Whether you’re finishing a piece of furniture or preparing a wood cabinet to be stained, sanding can help improve the quality and texture of raw wood. Consider the following reasons to sand during the early stages:
- Remove dust or raised fibers from the wood.
- Smooth out “orange peel” texture that may have resulted from spraying.
- Bring the wood surface to the customer’s desired degree of luster.
- Round out sharp edges in the wood you’re working with during your project.
- Enhance the substrate to promote mechanical adhesion.
Before you start sanding, though, it’s important to identify the best sandpaper grit to ensure you achieve the desired results.
Identifying Sandpaper Grit for Your Job
The sandpaper grit you select is critical for getting the job done correctly the first time and reducing the risk of wasting raw materials. You will want to use a coarser grit to remove old finishes or rough surfaces quickly. You can use fine sandpaper for a smoother finish.
To determine the grit, you will want to evaluate the nature of the wood you are working on. Consider this chart to help you make the right selection:
|
Type of Wood |
Recommended Grit for Sandpaper |
|
Close Grain Hardwoods - Maple, Birch, and Beech |
120-150 grit |
|
Open Grain Hardwoods - Oak, Wash, and Walnut |
120-150 grit |
|
Softwoods - Pine, Fir, and Poplar |
120-180 grit |
|
MDF Face Area |
320 grit |
|
MDF Routed Areas |
400-600 grit |
If you need to sand the wood between coats prior to applying the stain, you can aim for 220-320 grit. The key to remember is that sanding should be completed as close as possible to staining to ensure the wood profile remains consistent.
Following this best practice is important to avoid compromising the wood. Once the wood surface has been prepared to accept a coating, it must be kept free of contaminants. Otherwise, these undesired elements could interfere with the bonding of the coating to the wood or change the absorption rate of various types of stains.
Tips for Sanding and Preparing to Stain the Wood
Finishing professionals can increase their efficiency and complete more jobs in less time by keeping in mind the following guidelines for sanding and staining.
1. Understand Coarseness
Remember that the coarser the sandpaper grit used, the darker the stain color produced will be due to the penetration levels. Taking the time to sand properly can make a significant difference in the quality of the finished work.
2. Know Your Tools
You need to understand the capabilities of your chosen sanding tool. For example, a sanding belt will polish wood as the grit is worn off. A worn sanding belt can cause intense heat and produce a burned surface that restricts finish penetration.
3. Avoid Scratches
To avoid scratches in the wood, always follow a series of grits when sanding. Each subsequent sanding grit should be slightly finer than the previous grit used. For example, if you start with a 120 grit PSA sanding disk on a piece of pine wood, progress to 150 grit and then 180 grit.
4. Have a Plan
Before starting any sanding project, you should craft a plan. Otherwise, the process may not go according to schedule, creating costly waste and rework. You can improve your efforts by incorporating these tips into your plan:
- Sand sharp edges by hand.
- Sand across the edge.
- Sand the recessed areas by hand.
- Sand with the grain.
- Machine sand all flat surfaces.
- Slowly move your sanding tool to prevent scratches.
- Check for any machine scratch marks, then sand out by hand.
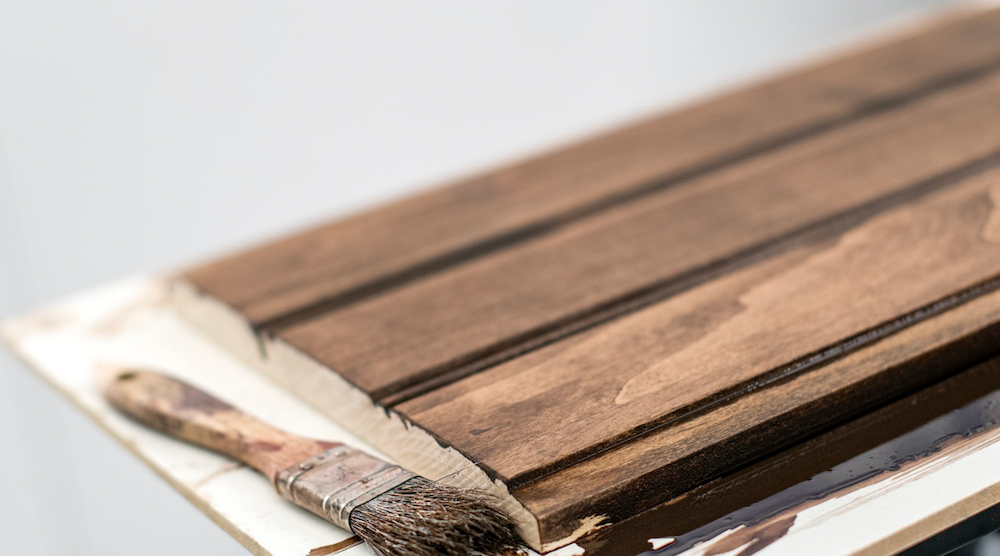
Now You’re Ready to Stain the Sanded Wood
Keep in mind that sanding is a balancing act. If you choose a sand grit that is too coarse, you might not see any improvements to the appearance. However, if you select a grit that is too fine, you run the risk of poor adhesion. By striking the right balance of good adhesion and appearance, you can be ready to stain the sanded wood with confidence.
It takes time to master this effort, so be patient. Sanding is time-consuming, but rushing the process can lead to poor results. Take your time to achieve the best outcome so you can prepare to stain the wood.
Once you master sanding, you’ll be able to take on more jobs and complete the entire process more effectively.
Gain Knowledge Beyond Whether to Sand In Between Coats of Stain
There are many misconceptions in the finishing industry, such as whether to sand in between coats of stain. For this reason, we believe it’s important to provide educational resources to finishing professionals, in addition to offering industry-leading products.
We encourage finishers to utilize our resources – including how-to videos on sanding – to develop skills and expertise. By growing your capabilities, you can improve the quality of work and increase customer satisfaction.
Additionally, we offer the sanding tools and products that finishing professionals need for their jobs:
- Durable sanding disks – available in a wide range of grits
- Specialized sanding sheets – available for your needed grit
- Abrasive sanding sponges - support fine or very fine grits
- Sanding dust masks – with or without a respirator valve
Our team of experts can help you identify the right solution to support your sanding needs. Whether you would like to discuss sanding techniques or need to purchase items for your shop, we can help you take care of the sanding stage to be ready to stain the wood.
Talk to us today about implementing best practices and purchasing the right tools for the job. Take advantage of our expertise to grow as a finishing professional.